So, here goes!

First things first, drag out your fabric stash and rummage around for fabric that is large enough to be useful.
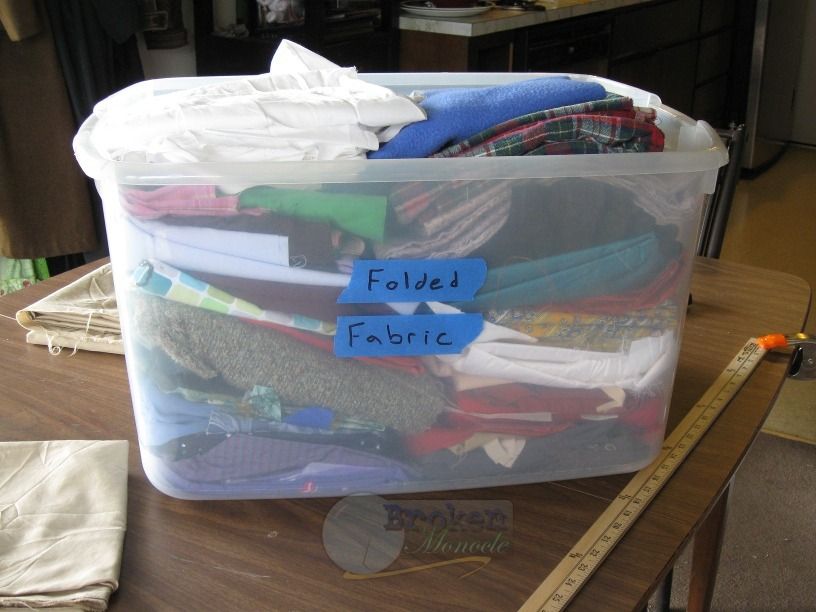
*Note: Complete stash not pictured.
You're going to need: Fabric (I had a lovely Egyptian cotton sateen that I'm going to use), lace, sewing notions (scissors, wash-out pencil or tailor's chalk, matching thread, glass-head pins) , a yardstick or other measuring device, a sewing machine, elastic, and lace. A cat is optional.
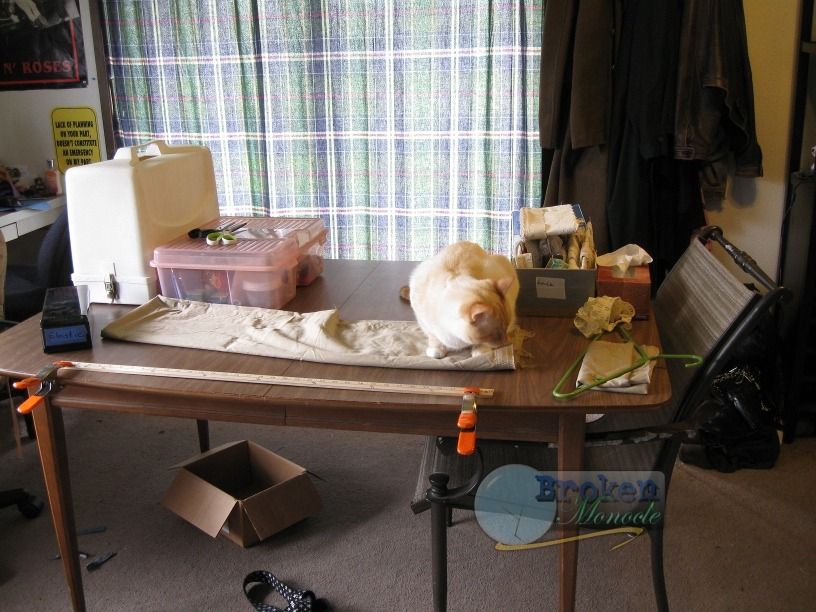
*Optional cat may or may not be helpful.
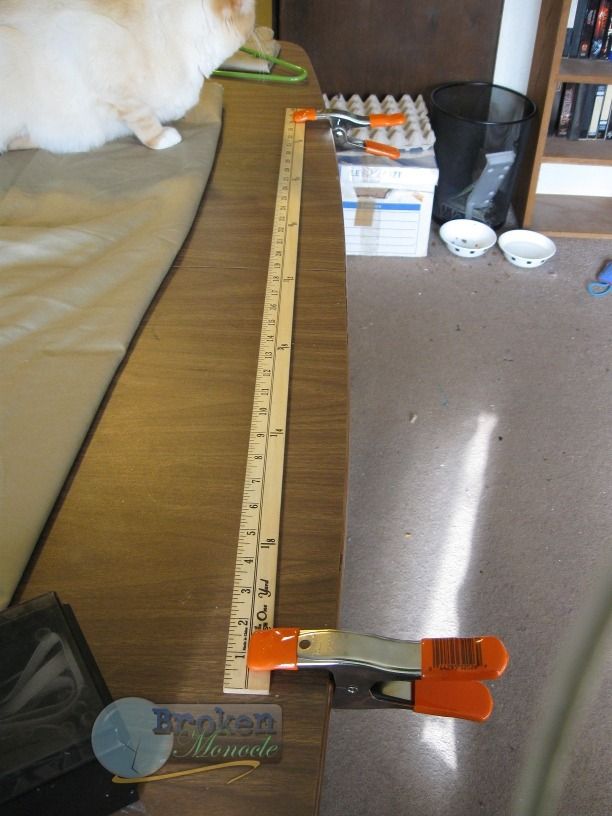
And while I'm on the subject, a note on measuring. Since I do all my sewing in the living room, I don't have a dedicated sewing table. I get around this by using Pony® Spring Clamps to hold my yardstick on the table so it doesn't move around. I got mine at the local hardware store, but you can find them online too. They work great! If people want to know how I measure out yardage, just ask, and I'll put up a video tutorial for you.
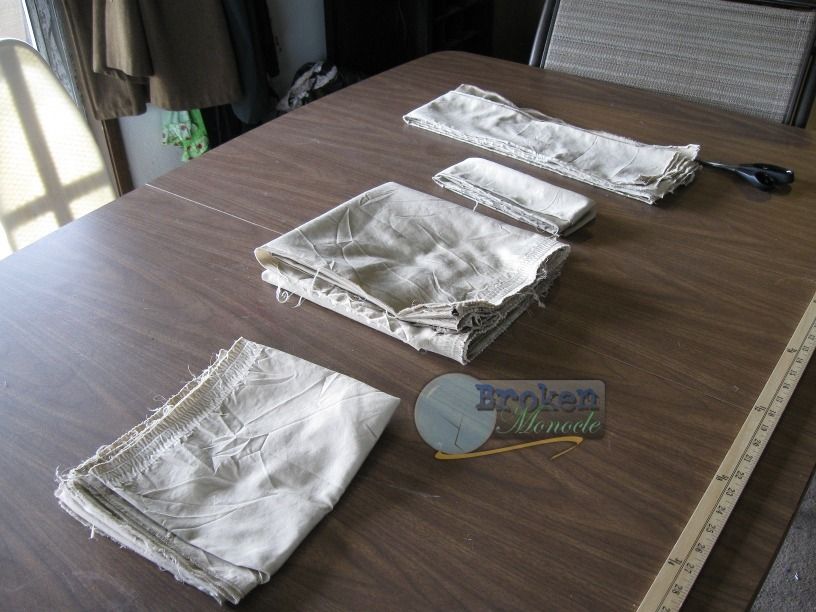
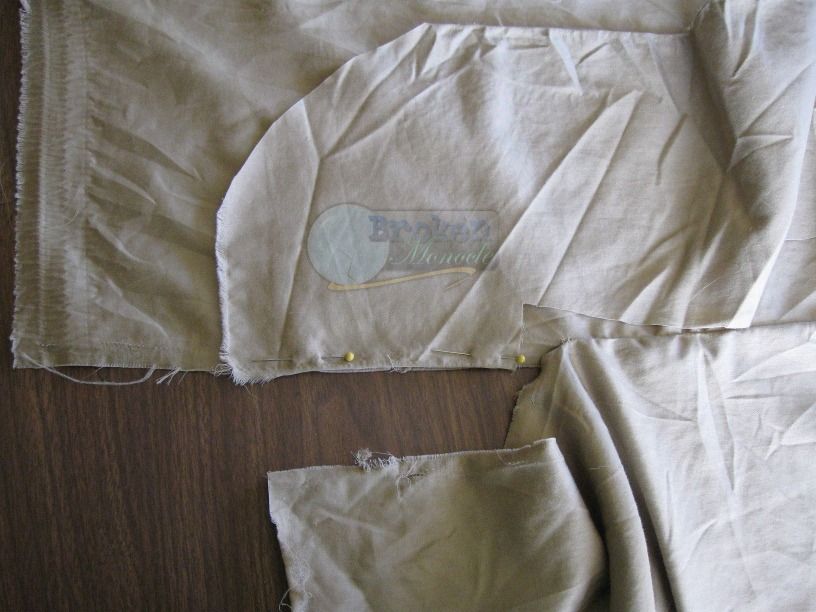
So, on to the skirt! You're going to need two pieces for the skirt, each 1.5x your waist measurement by however long you need the skirt to be. Remember that the ruffle will make it longer! You're also going to need a rectangle that's 2x your waist and three or four inches wide for the waistband. I also cut four pieces of fabric that are 2x waist and six inches wide for the ruffle. Arrange them neatly into piles so you don't get them mixed up. You should also have some large enough scraps left over for the pockets.
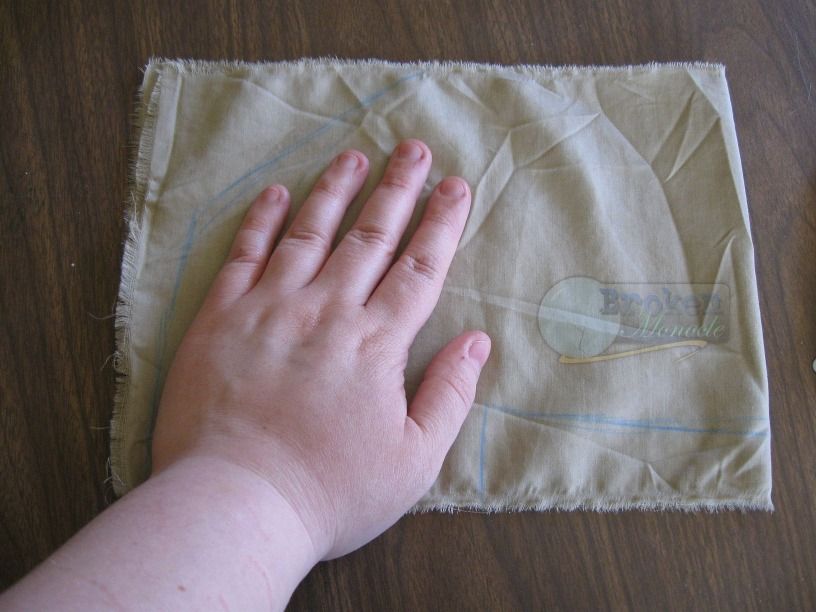
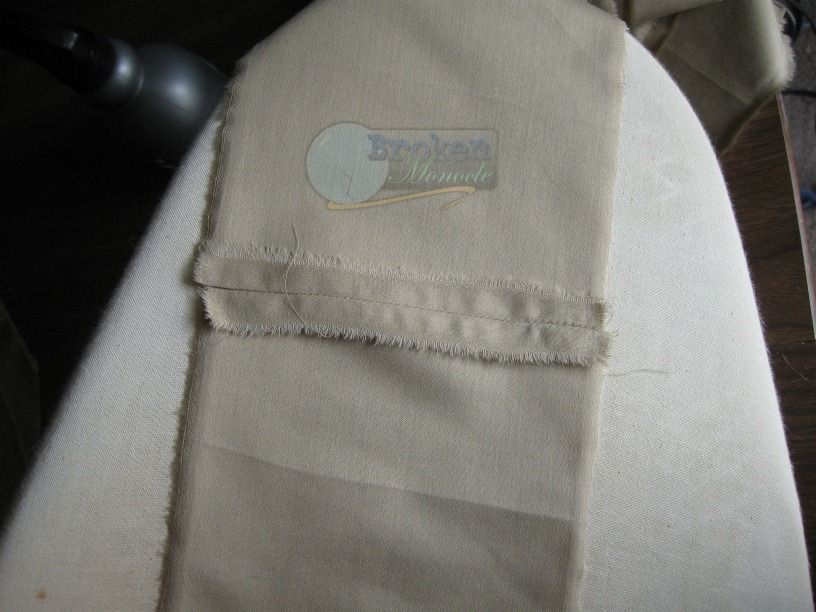
Now, to make the pockets. Take one of your scraps, fold it in half, and lay your hand on it. You'll want to spread your fingers apart instead of having them close together, since my pockets wound up being a little tight. Using your hand as a measurement, draw a rounded L shape on the fabric with your wash-out pencil/tailor's chalk.
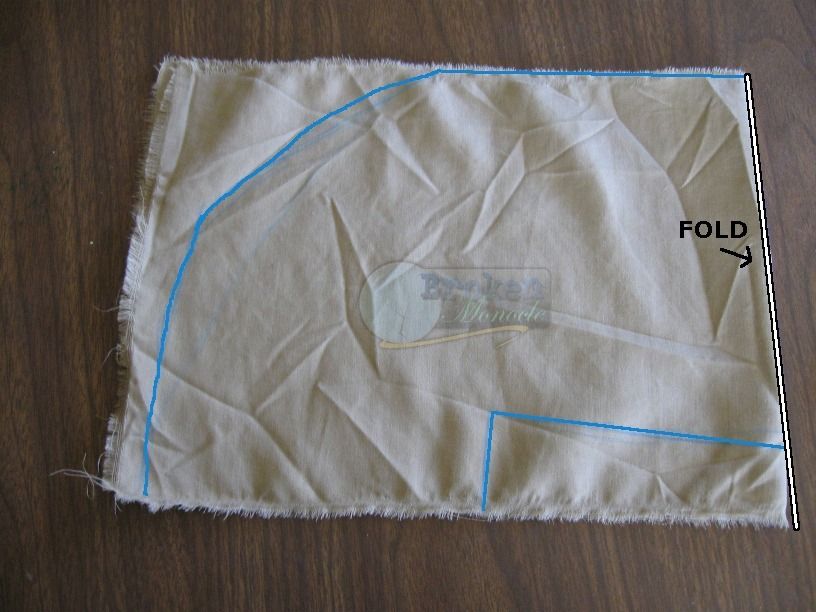
Hopefully this is a bit more clear.
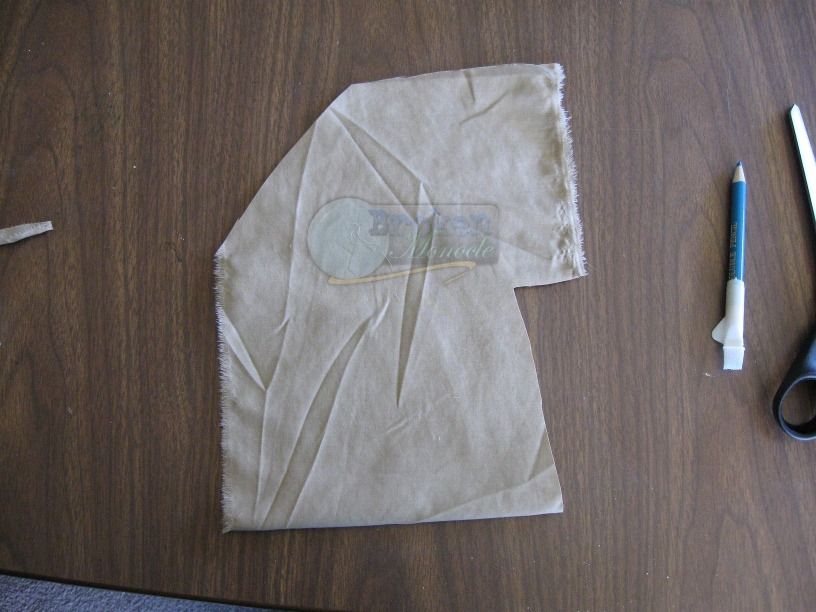
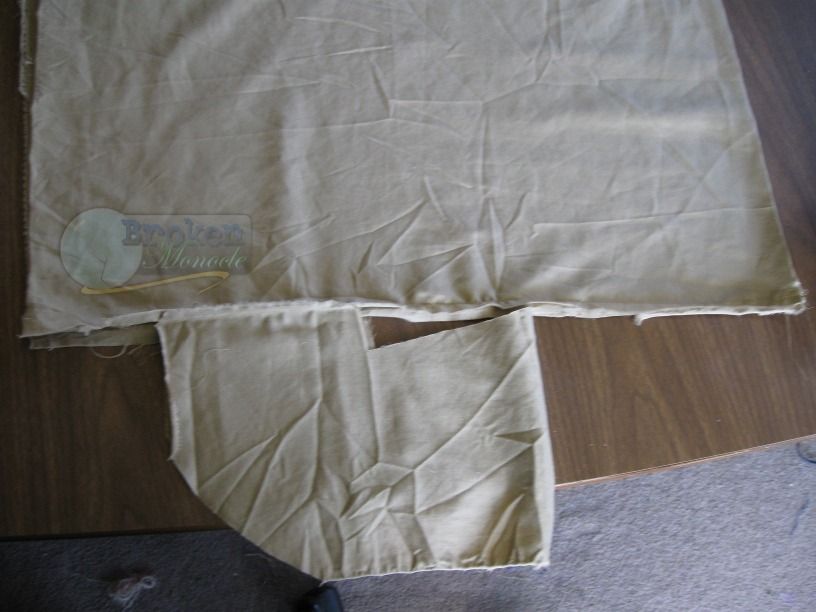
Cut it out! Just be careful not to cut along the fold though, since that will be the bottom of your pocket. Make two of these, one for each pocket.
Imagine there are two here.
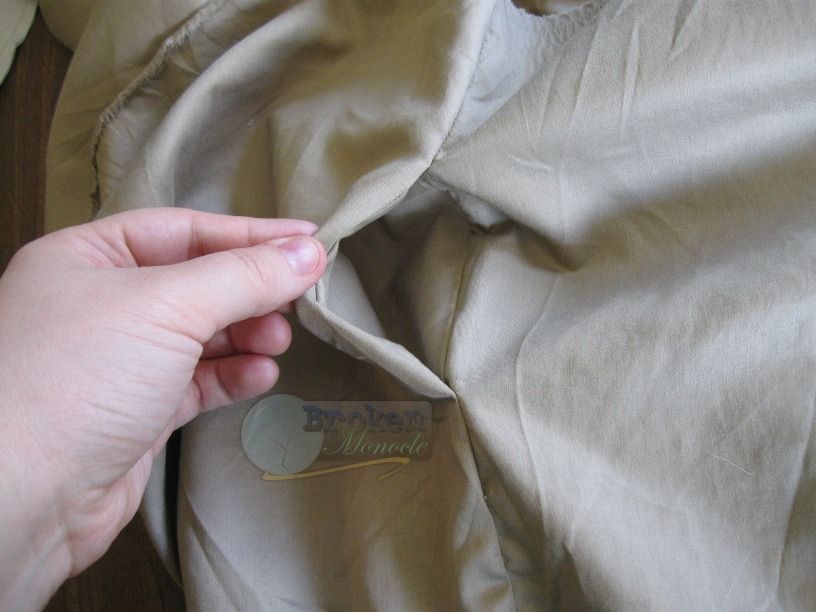
Now, on to how we insert the pockets. I do one now, and one at the end. First off, take both panels for the body of your skirt, put them right sides together, and sew partway up one of the sides. That's where the pocket will go. Then flip it over so the seam is against the table, like so.
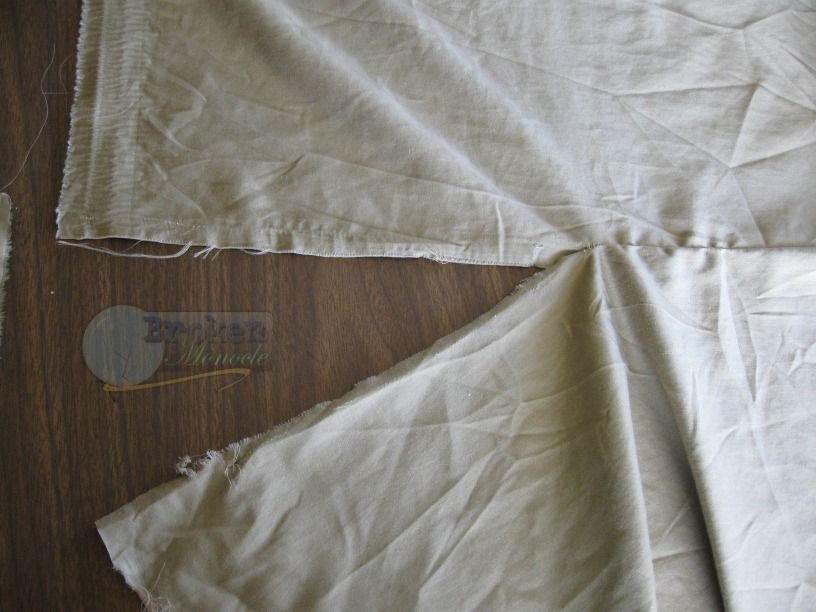
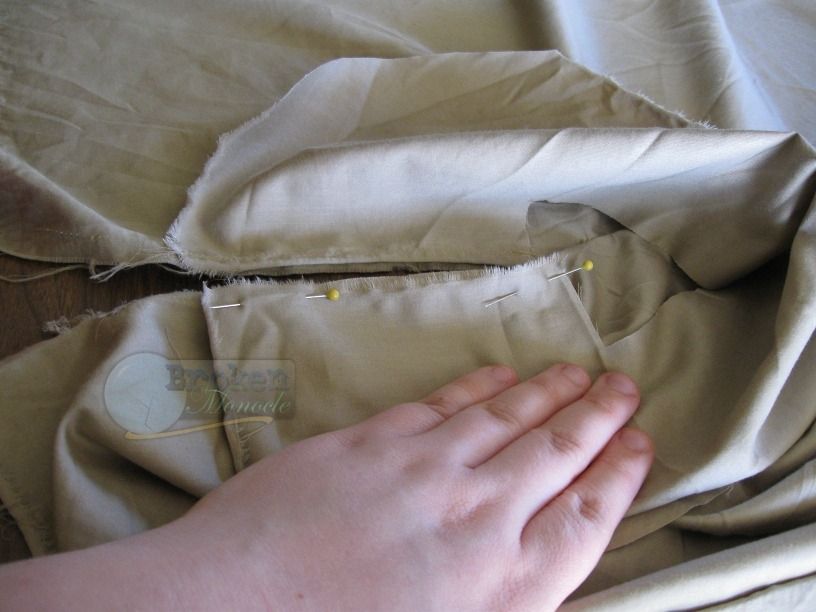
Now, the tricky part. You're going to open up the pocket along the fold so it looks like a square bracket ( [ ) and pin the bottom of one "leg" to one side of the opening in the seam, just a tiny bit away from where you stopped.
Now, CAREFULLY sew where you pinned, and do the same for the other side, making sure the two "legs" of the pocket are even.
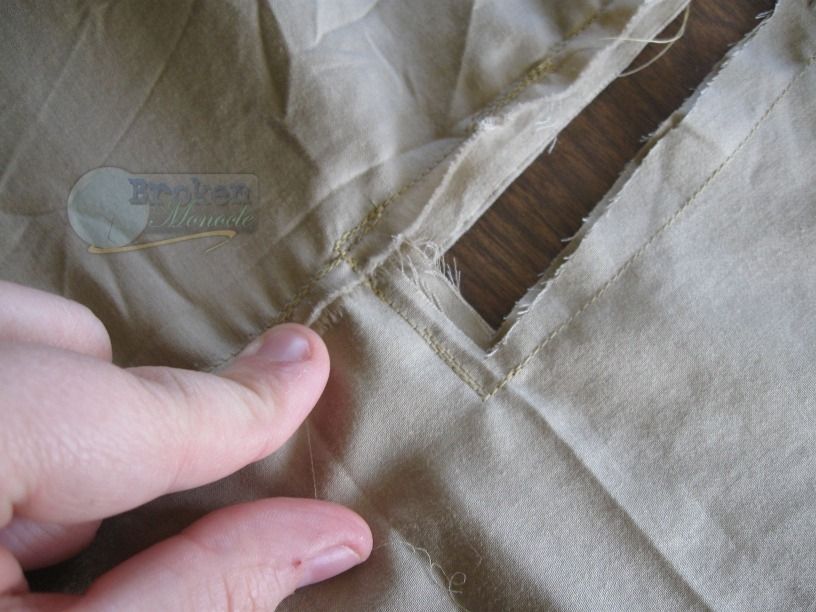
When you're done, it should look like this.

Now fold the skirt right sides together along the side seam, with the pocket on the outside.
You're going to want to carefully sew around the pocket. I started where the side seam stopped (remember how we put the pocket just a bit above the seam?), and when I got to a sharp corner, I backstitched a few stitches, then put my needle down in the corner, lifted the presser foot, and used the needle as a pivot point to rotate the fabric in the new direction. Then I backstitched for a few stitches for reinforcement, and continued sewing around the pocket. You don't have to sew along the fold though.
Now, flip the skirt right-side out and take a look at your pockets. They should look like this.
With the pocket inside the skirt
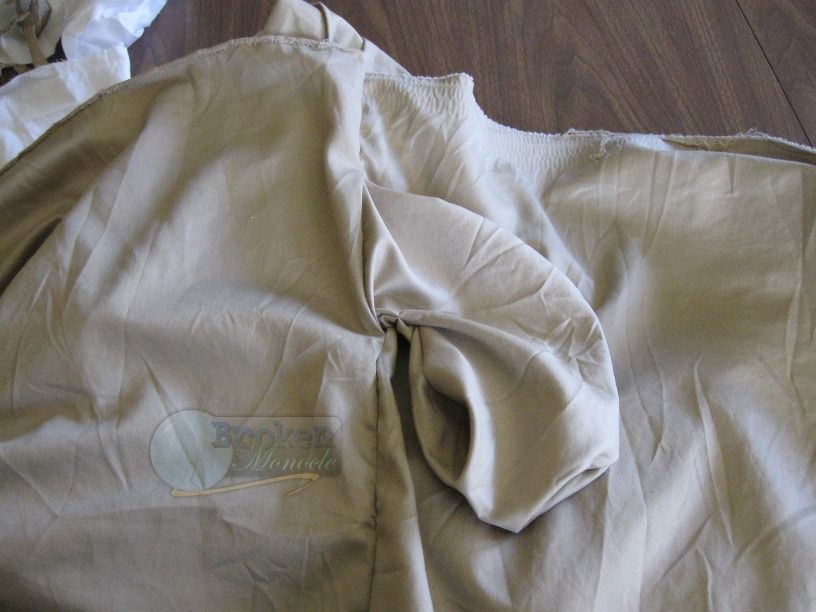
With the pocket pulled outside the skirt.
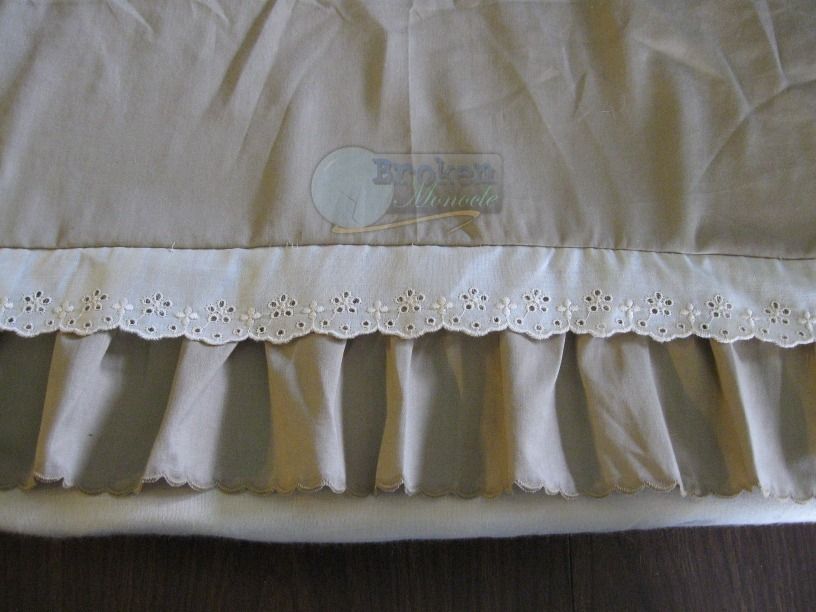
Now, we move on to the lace and ruffle. First off, take your lace, and use the longest straight stitch on your machine to baste it to the bottom of your skirt.
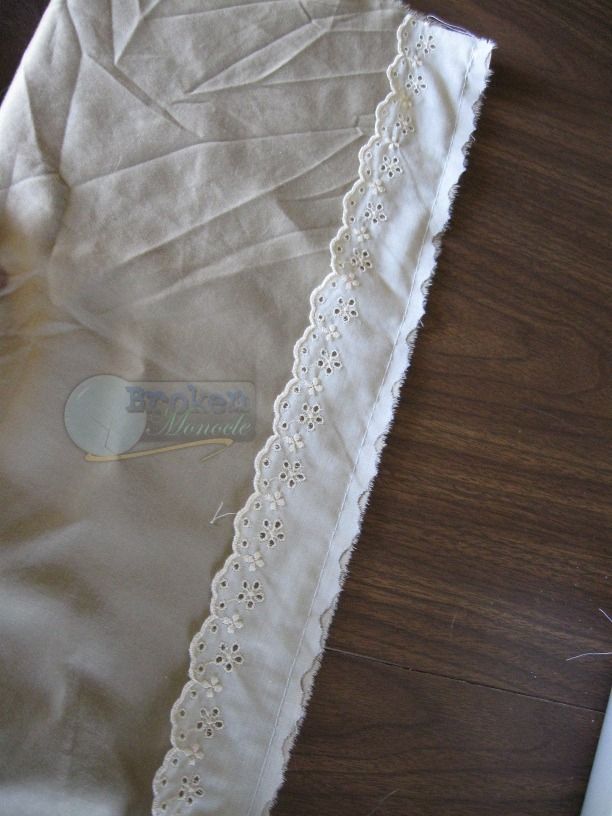
Leave an inch or so of overhang on both sides. This is important so that you catch the lace when you go to sew up the other side of the skirt.

Now sew the ruffle pieces together (making sure you put right sides together!) into one long strip, and press the seams open so that they feed evenly.
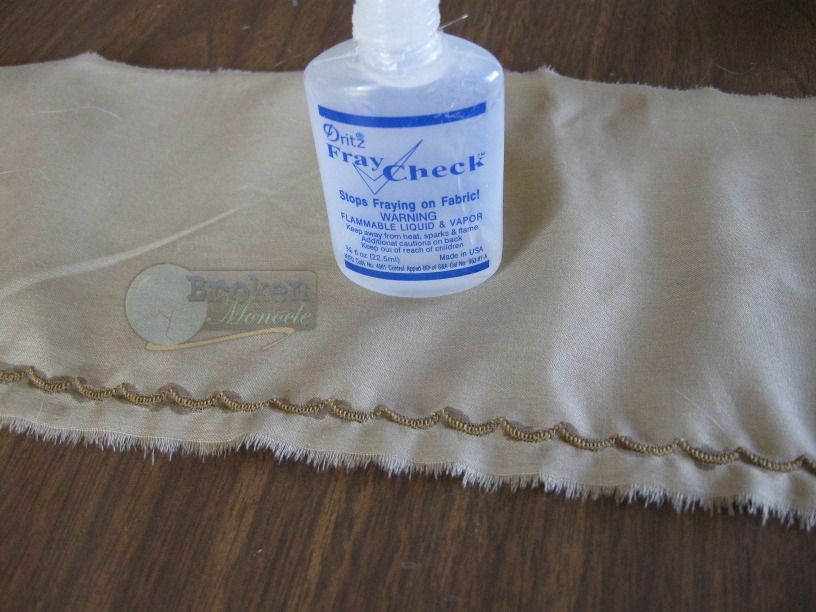
I used a fancy scallop edging stitch to hem it, but that's totally optional. You can do a regular hem if you'd like. If you do decide to use a fancy stitch though, you're going to want some Fray Check to help keep it crisp. Just put it along the stitching and let it dry.
Once the Fray Check is dry, very, very carefully cut along the stitches without cutting through them. I used a pair of embroidery scissors. This will take forever.

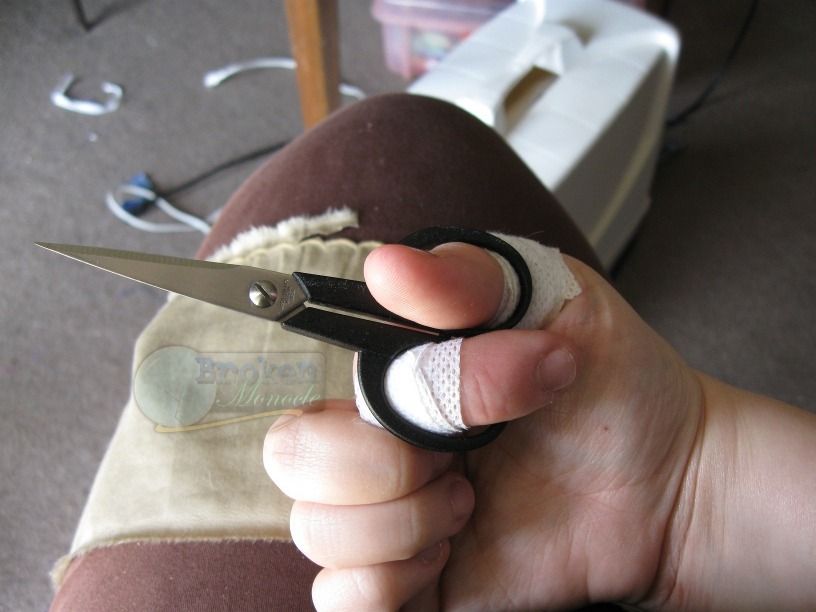
It will also make your fingers hurt.
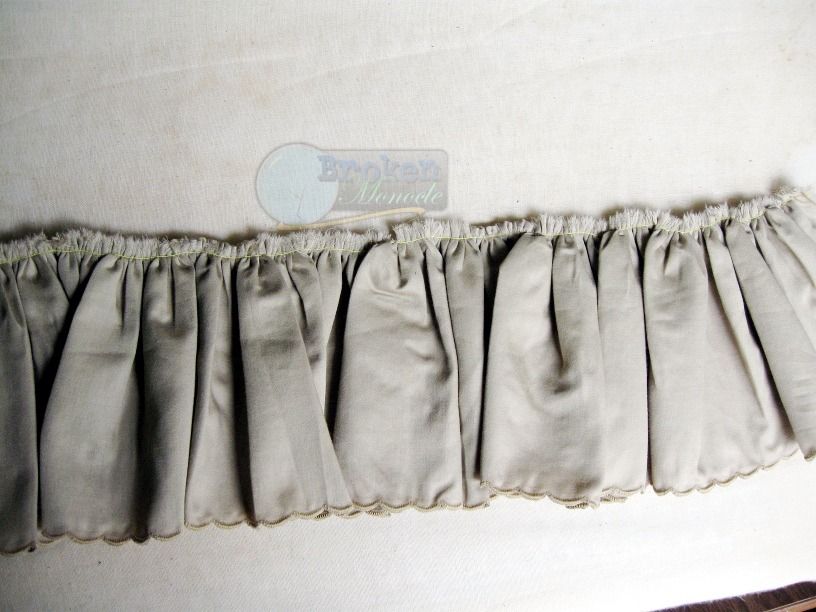
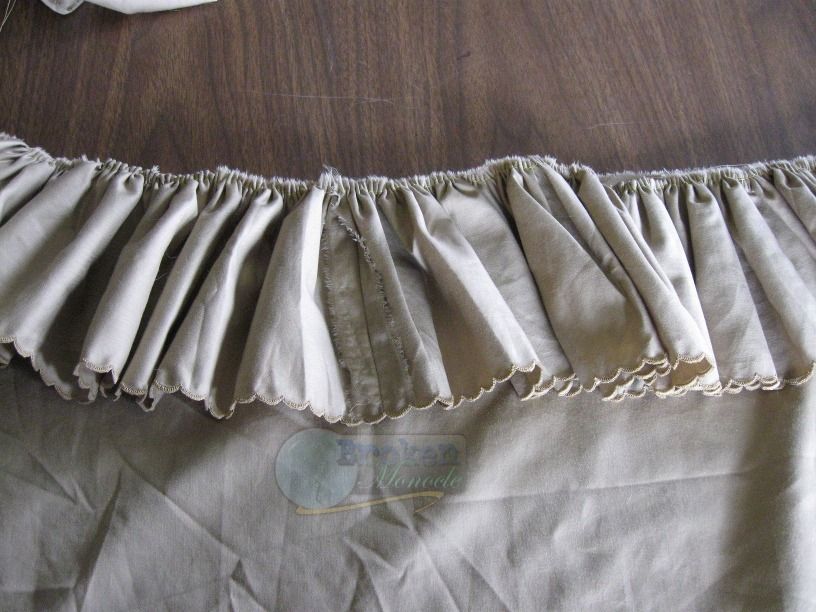
Once that's done, you can use whatever method you'd like to make your ruffle ruffly. I used my ruffler foot, but you can also gather your ruffle by sliding the fabric along a long straight stitch. Either works, as long as the finished ruffle is the same size as the bottom of your skirt. Once it's ruffly, press it flat.
Okay, lay your skirt upside down so that the lace is at the top. You want to put your ruffle right side down, sandwiching the lace between the ruffle and the skirt, and pin it in place. Then using a zigzag stitch (so it doesn't destroy the ruffle), stitch it down.
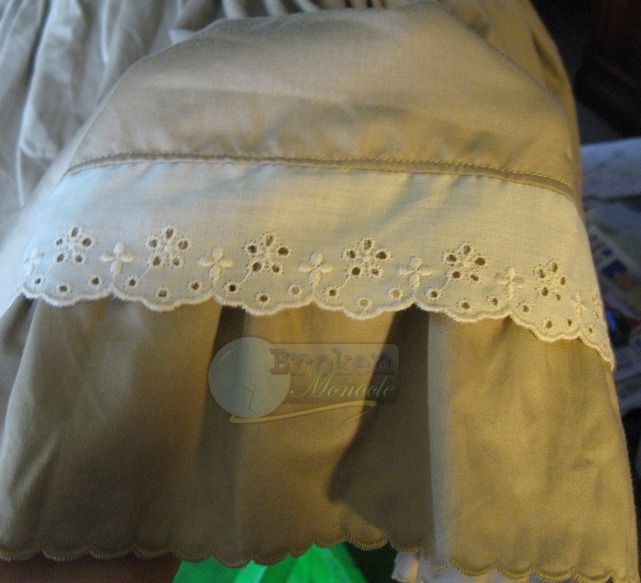
Unfold it and make sure that it looks like this.
Now flip it over, and pick out the basting you used to hold the lace in place.

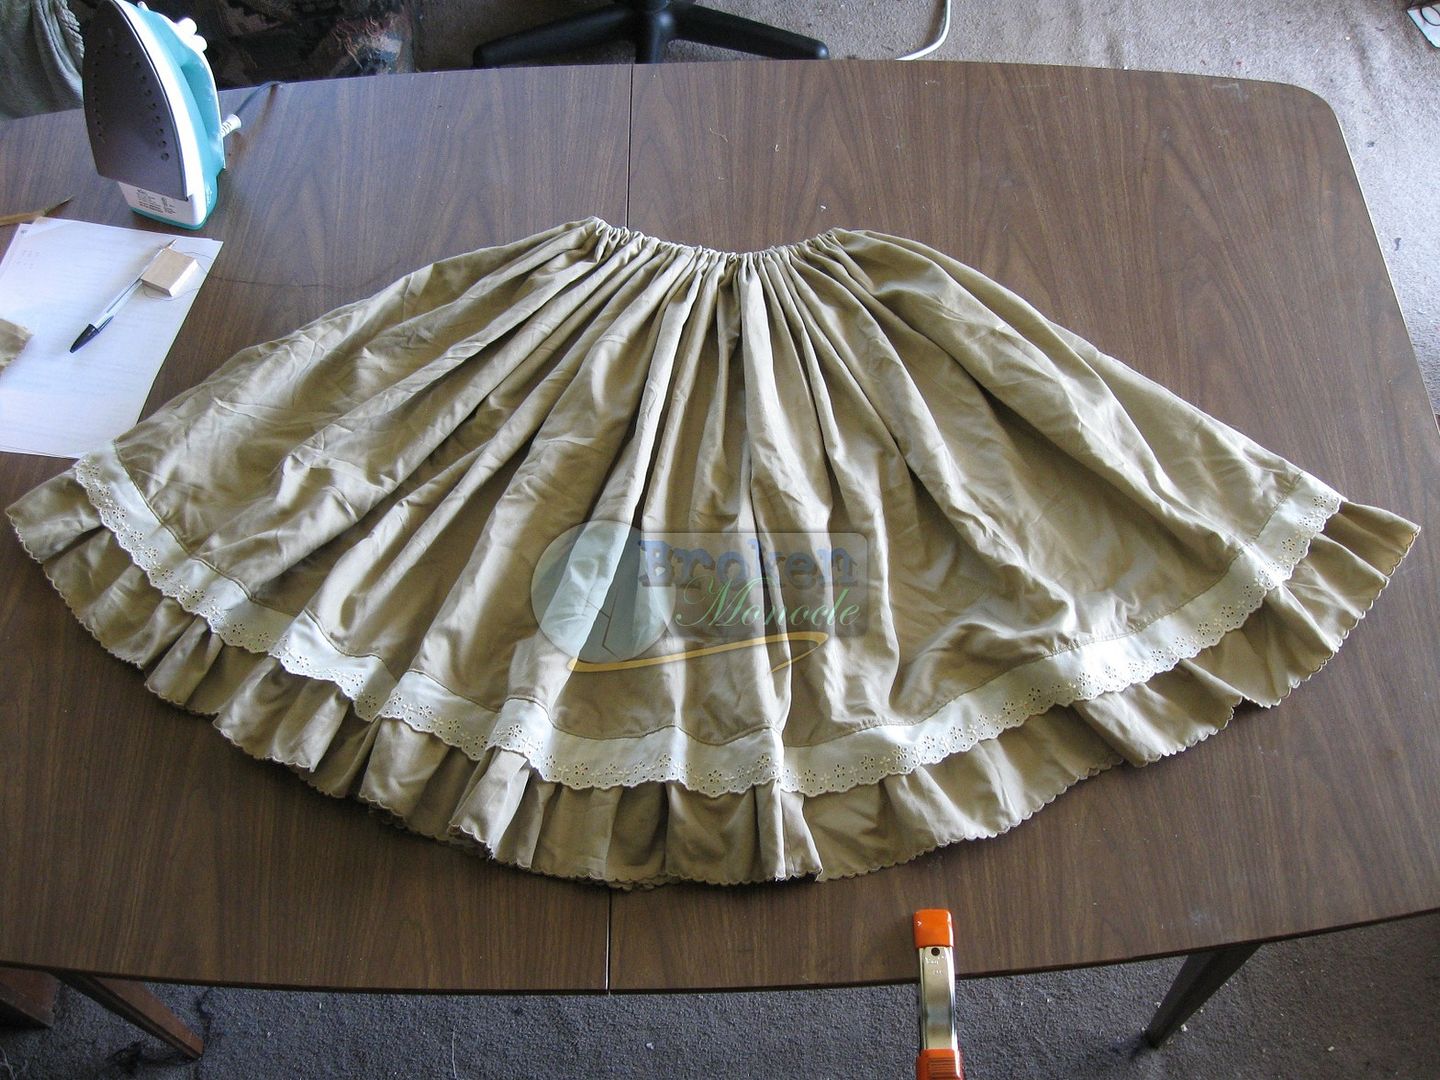
Unfold it again, and press it flat. Next you're going to topstitch it so that the ruffle and lace hangs nicely, and doesn't try to fold weirdly. Use a narrow foot, if you can and use the edge of your foot as a guide. You want to be 1/4 to 1/8 of an inch from the edge. I used my regular presser foot, and moved my needle all the way over to use the center line as a guide.

The finished topstitching.
Next attach the waistband to the top of the skirt. You'll want to ruffle the top of the skirt to fit, place the waistband right side together, and zigzag in place.

Now sew partway up the other side of the skirt, attach the other pocket using the same technique, and finish sewing up the side, including the waistband. I didn't get any good pictures of the next bit, so bear with me. Fold the raw edge of the waistband over an inch or so, and iron it down so you have a good crease to follow. Stitch along that crease to hold it in place. Then fold the waistband again, so that the raw edge is inside, and you're covering the zigzag stitches on the top back of the skirt, and iron it down. Now you want to carefully topstitch partway around the waistband, being sure to catch both sides. Leave a gap large enough to thread your elastic through.
To thread the elastic, I stick a safety pin on each side, and pin one side to the opening in the waistband so it doesn't slip completely through. Using the safety pin on the other side, I carefully guide it through the waistband and out the opening on the other end. Then I grab both ends and sew them together. Once they're sewn together, I finish sewing the waistband closed.
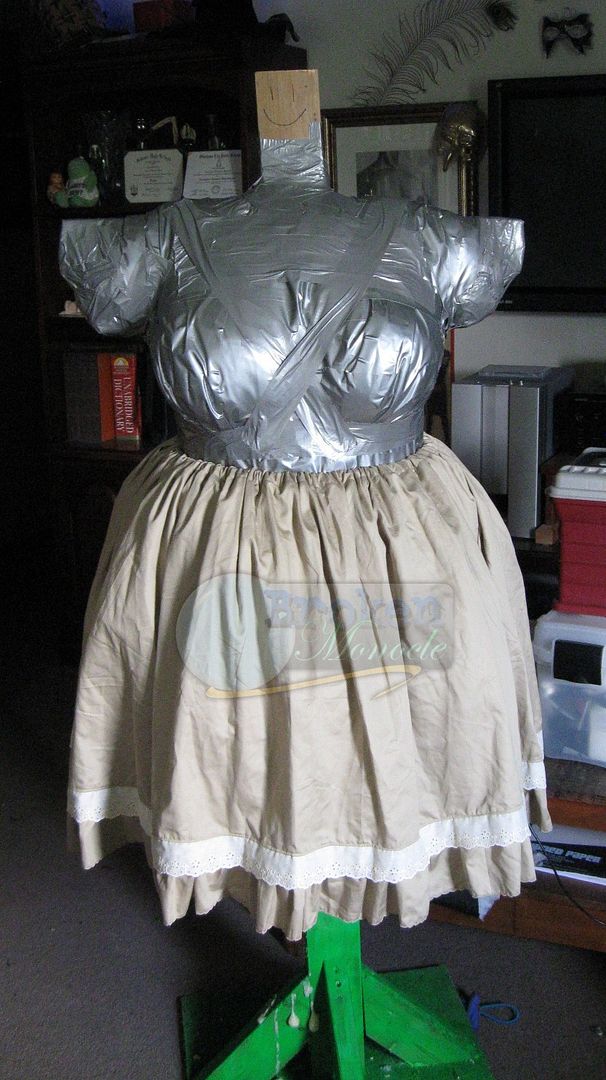
That's it! You're done! Admire your hard work!
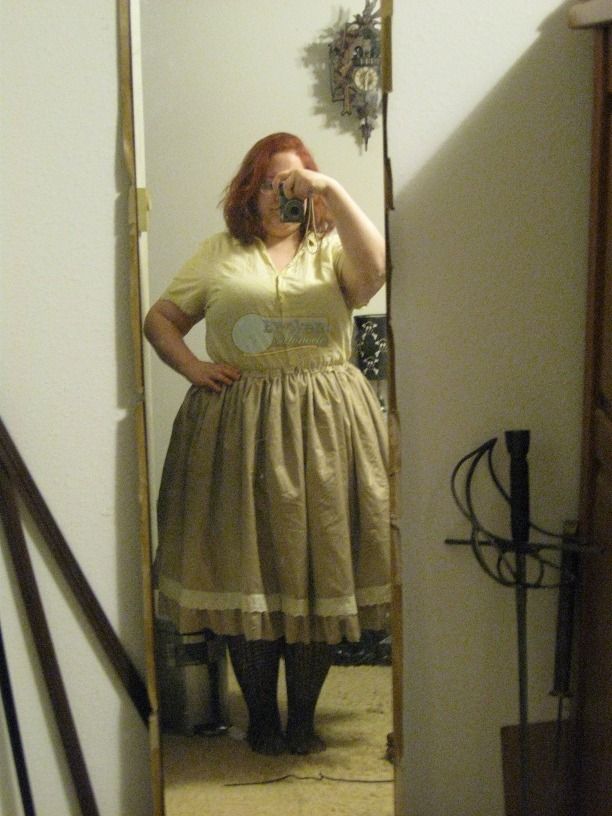
Very informative! Thanks for sharing, and I really like the finished product. ^_^
ReplyDeleteYou're welcome! Hopefully it helps! :D
Delete