Showing posts with label Convention. Show all posts
Showing posts with label Convention. Show all posts
Sunday, August 19, 2012
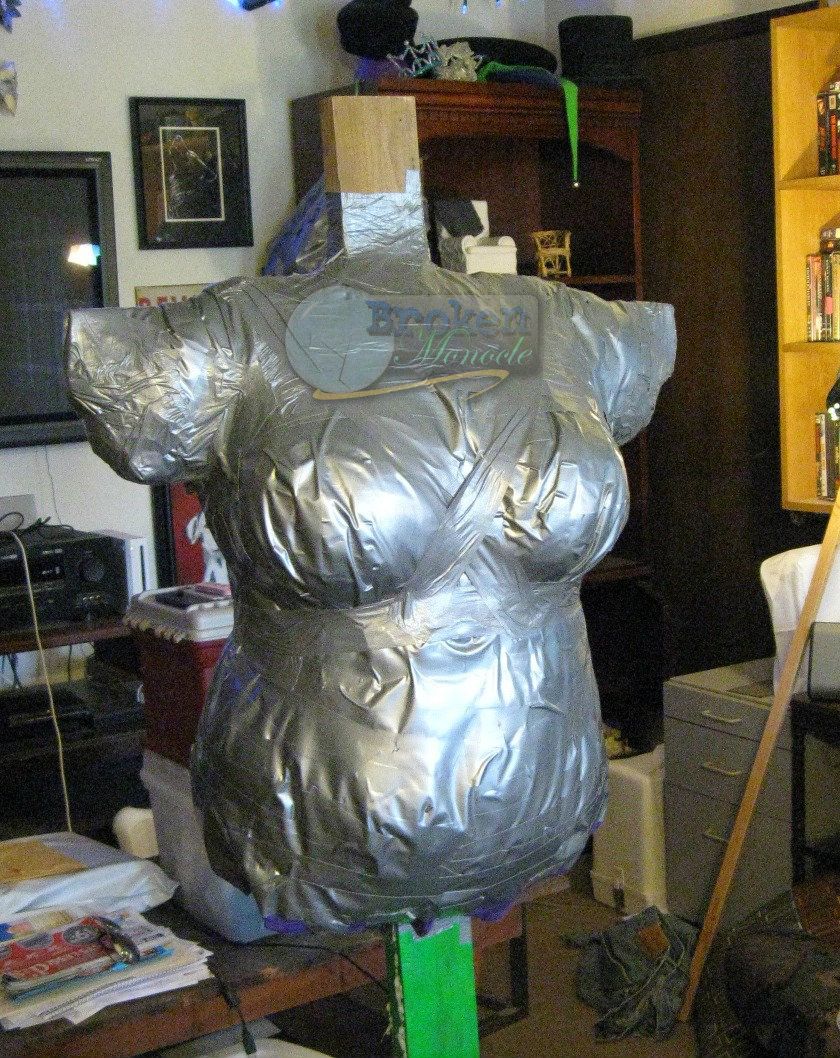
Urban Decay - Pocket Hoops and Dress Form!
After much fussing, I finally got my duct tape dress form assembled! I (more or less) followed these instructions found on Threads. I first tried to use expanding foam to fill it, but for some reason, it didn't expand hardly at all. Instead I stuffed it with cedar shavings, and my wonderful boyfriend made a stand for it and we used up the rest of the fluorescent green spray paint to paint it. After it was finished, I was finally able to move on with my Urban Decay project!
Sunday, May 20, 2012
Urban Decay - The Corset Part 2
Got the grommets in today. It could have gone better, but the kit I picked up wasn't all that great, and the punch that came with it was dull. The part of the corset that has the grommets is reinforced with a strip of the same sort of web belting that you use to make car seatbelts, so it should be plenty sturdy enough.
I did, however, enlist the help of my boyfriend to help me set the grommets.
I did, however, enlist the help of my boyfriend to help me set the grommets.

I'm currently wearing it, trying to judge how comfortable it is, and see if there's anything I need to change. So far, I think that the biggest thing that I need to do differently is to get some steel boning for the back by the laces, since the cable ties just aren't strong enough to keep everything straight back there.
More pictures after the jump...
Urban Decay - The Corset
The corset is nearly complete! I drafted the pattern using Drea Leed's custom corset generator, and with minor fiddling, it's turned out lovely! The only problem is that I wanted a gap in the back, and it meets exactly, so that's an easy enough fix. Tomorrow I add grommets, give it a final fitting, and then decide on my binding. Then I get to work on the rest of it.
I decided that two layers would be a good idea, since I was using an unidentified blue fabric from my stash, and while it's kinda thin, it's also not very stretchy, it's fairly tightly woven, and it's a natural fiber. I'm using an oak busk that my wonderful boyfriend made for me, and I'm using heavy-duty cable ties for the boning. I may add more boning channels once I test fit it again, before I add the binding.
So, without ado, pictures so far!
Sunday, April 15, 2012
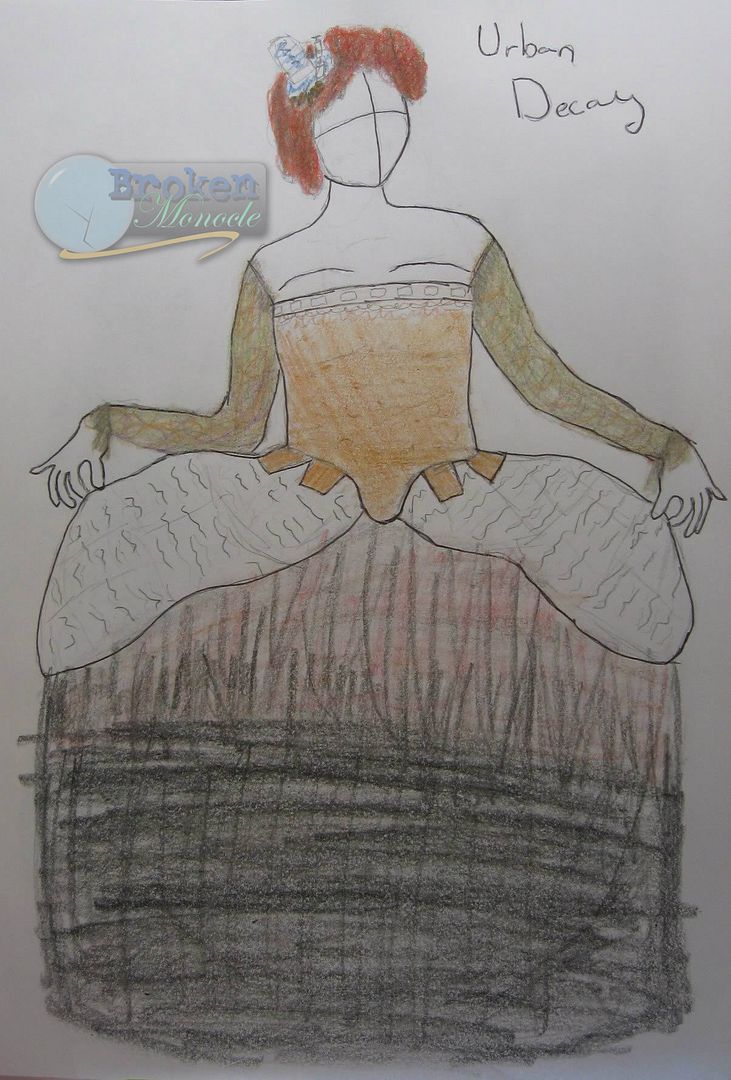
Urban Decay - Concept sketch
Urban Decay- Inspired by the 18th century silhouette, with a bodice of rust velvet and white lace, a fringed bolero of pea-and-dryer-lint green, and a skirt of book pages, newspaper, tattered pink silk gauze, and black garbage bags.
I need to get the foundation garments completed. I have the pocket hoops mostly completed, they're just waiting on a waist band, and the corset is cut out.
Other than that, I have the bolero done, and I'm slowly amassing scraps of paper and plastic for the skirt.
Subscribe to:
Posts (Atom)